
Contents
- What post-payment is
- Who can use post-payment
- Limit and validity period
- How to set up post-payment
- How the charge increase is calculated
- How to view active post-payment terms and top up the balance
- How charges appear in payment history
Note
You can check the availability of the Post-payment feature by submitting a request.
What post-payment is
Post-payment lets you continue using the system when there are not enough of your own funds in the balance. Once it is set up, charges covered by post-payment are made within the selected limit whenever your own funds are insufficient.
The post-payment limit is not credited to the balance. It defines the maximum amount available for such charges. For example, with a limit of 250 units of the account currency, the profile displays “Post-payment limit up to −250.”
When post-payment is used, the part of a charge covered by its limit is increased by 10%. For example, if 100 units of the limit are used, 10 units are added to the charge.
Who can use post-payment
A Simla administrator can set up post-payment if all of the following conditions are met:
- the Professional plan has been used for at least 5 consecutive months;
- post-payment has not already been set up;
- the current balance is greater than or equal to 0.
If any of these conditions is not met, post-payment cannot be set up.
Once it is active, you can view the option details even if the balance is negative.
Limit and validity period
The minimum limit is 1 unit of the account currency.
The maximum limit equals the undiscounted cost of renewing the license for one month. For accounts in US dollars or euros, it also cannot exceed $1,000 or €1,000, respectively.
The available range is calculated automatically and displayed in the setup panel. You cannot enter an amount below the minimum or above the maximum.
Post-payment is valid for 14 days. The exact end date is displayed before confirmation and after the option is set up.
The negative balance must be cleared no later than 14 days after post-payment expires. Otherwise, the system may be blocked.
How to set up post-payment
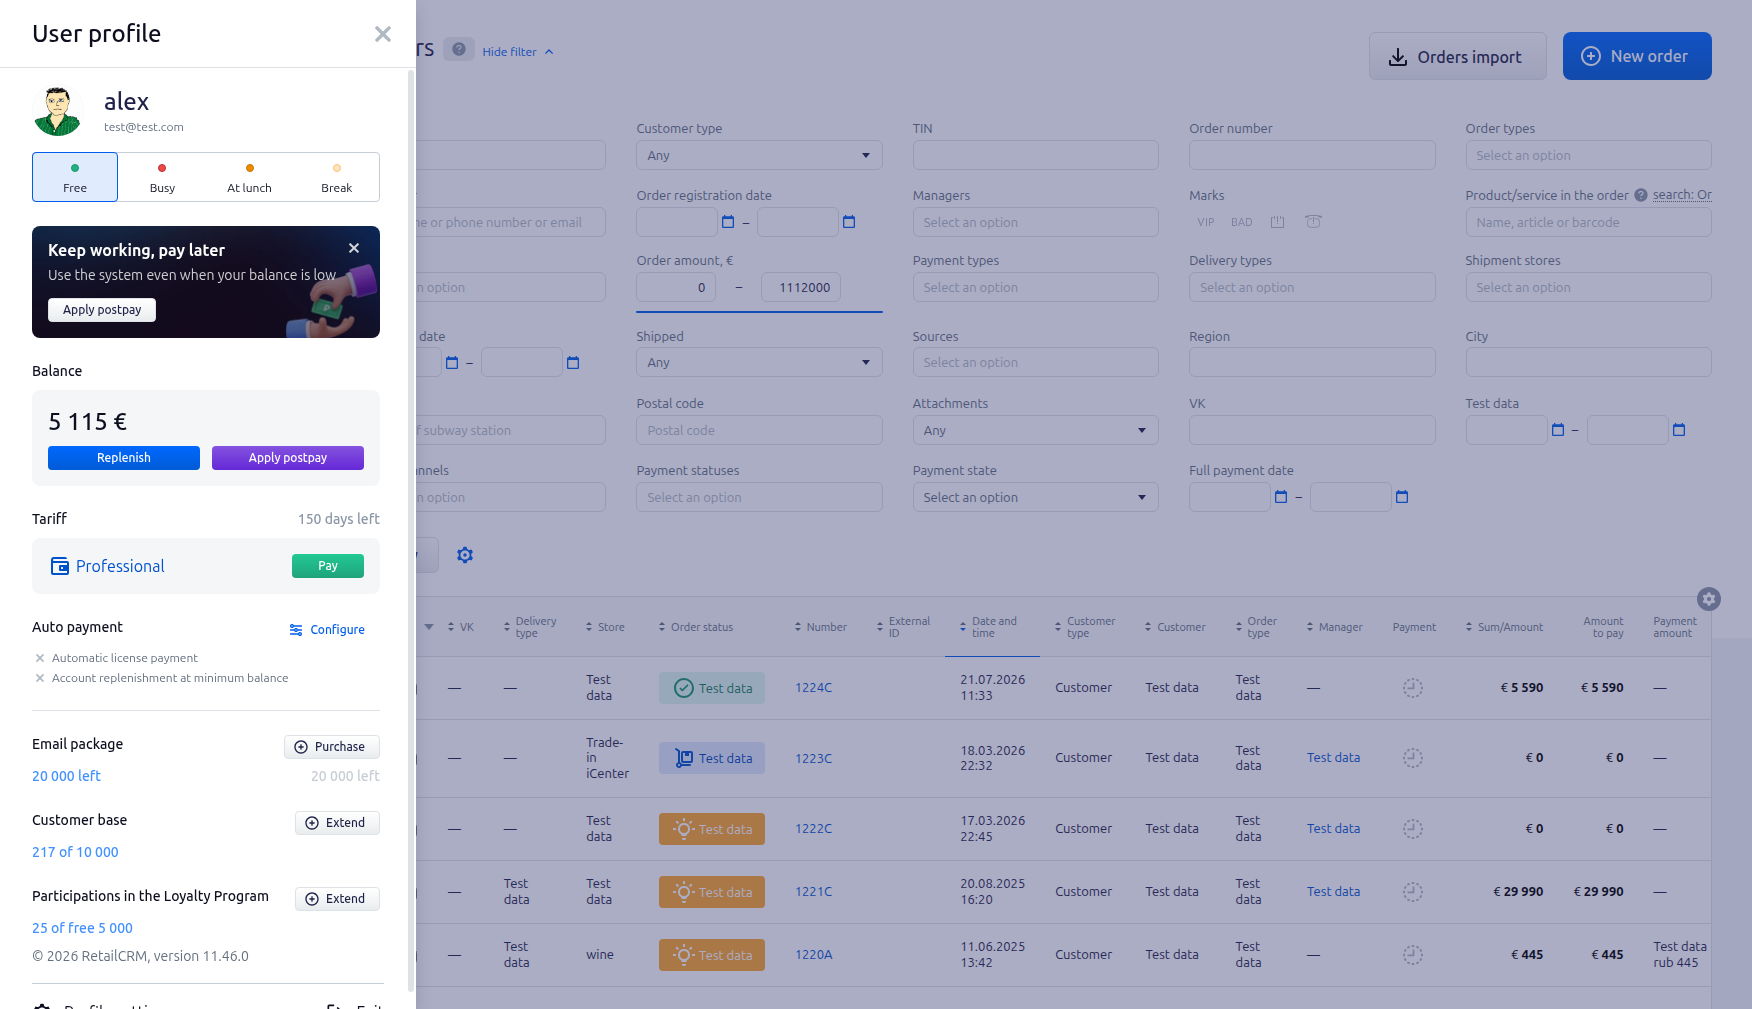
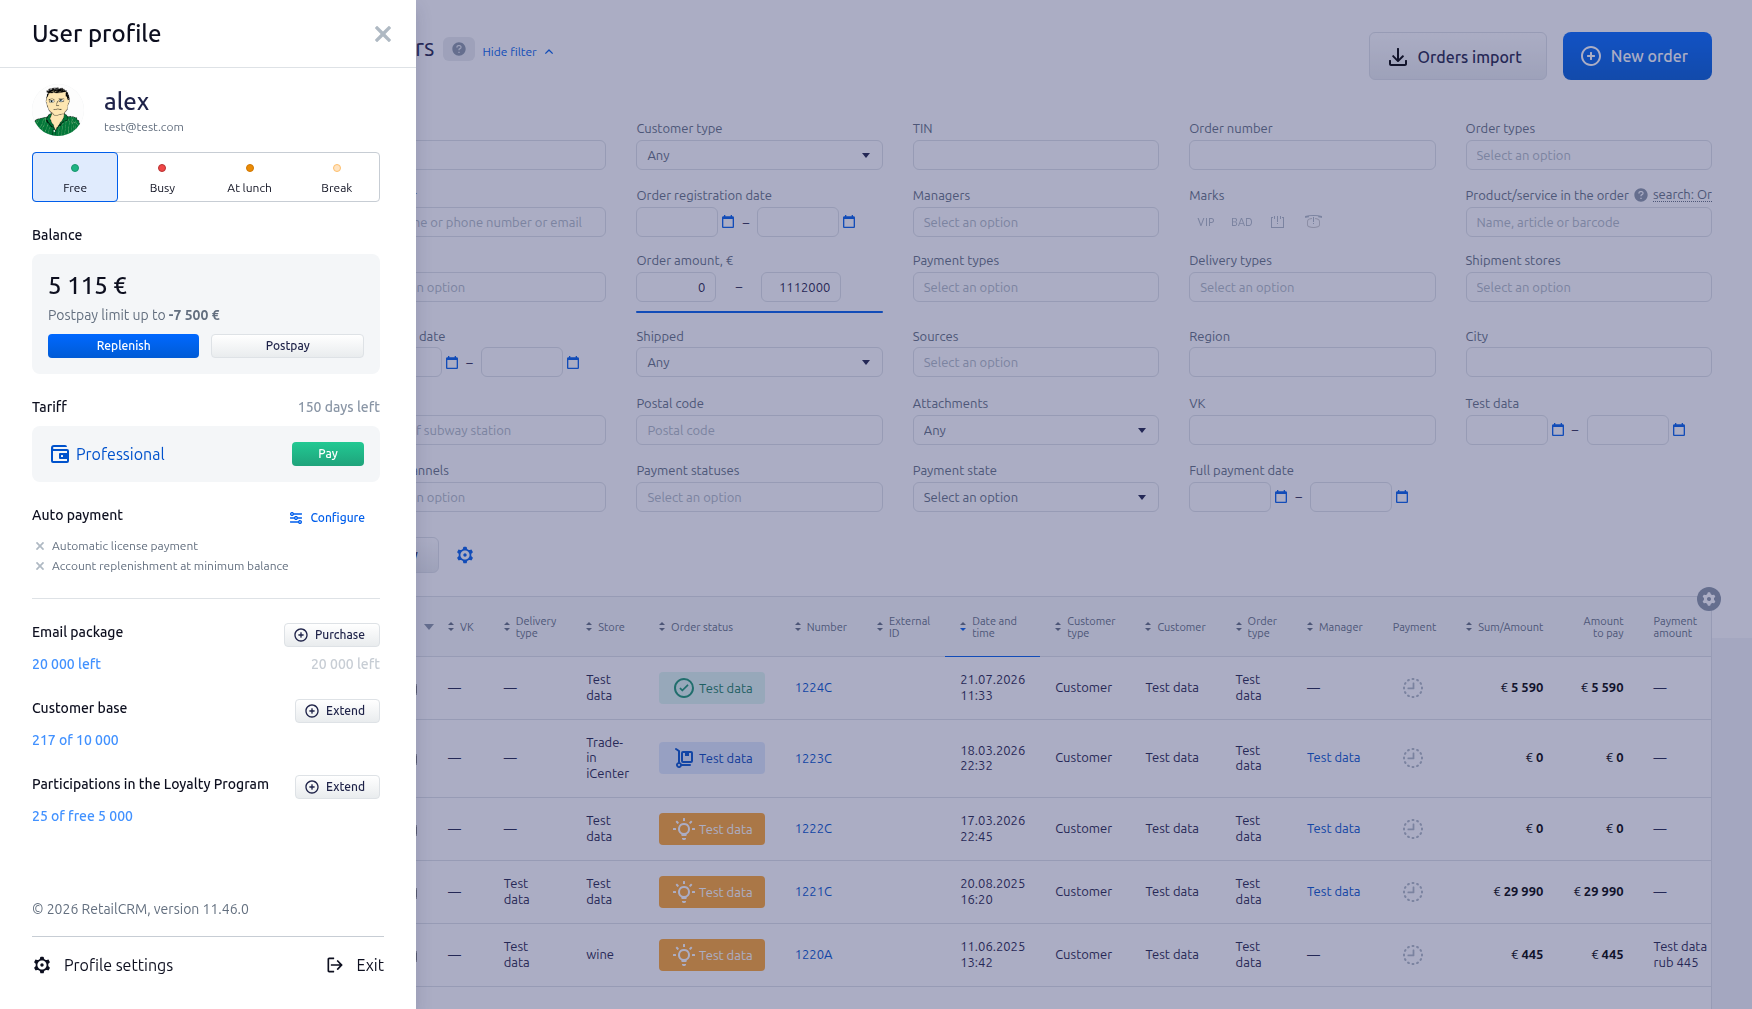
- Open the User profile side panel.
-
In the Balance block, click Set up post-payment.
-
Review the option terms in the panel that opens. It states that the part of a charge covered by the post-payment limit is increased by 10%.
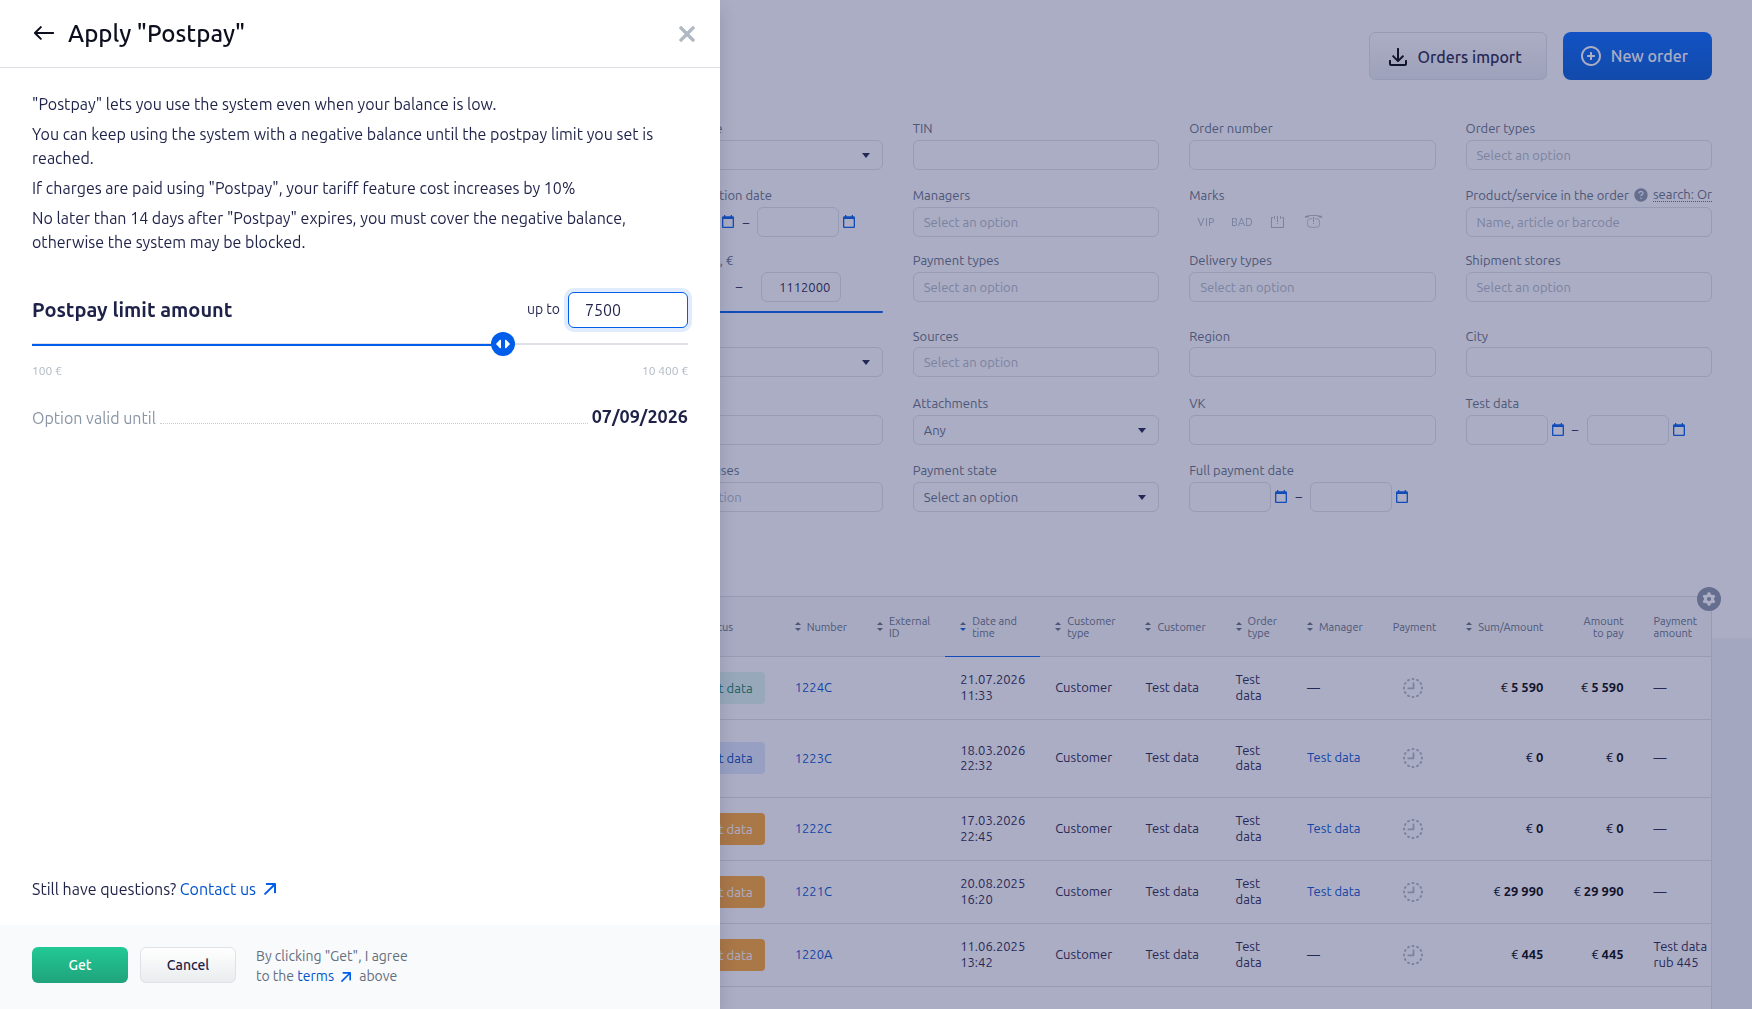
- Enter the limit in the field or select it with the slider. The minimum and maximum available amounts are displayed below the slider.
- Check the date in the Option valid until line.
- If necessary, open the terms link and review the service terms.
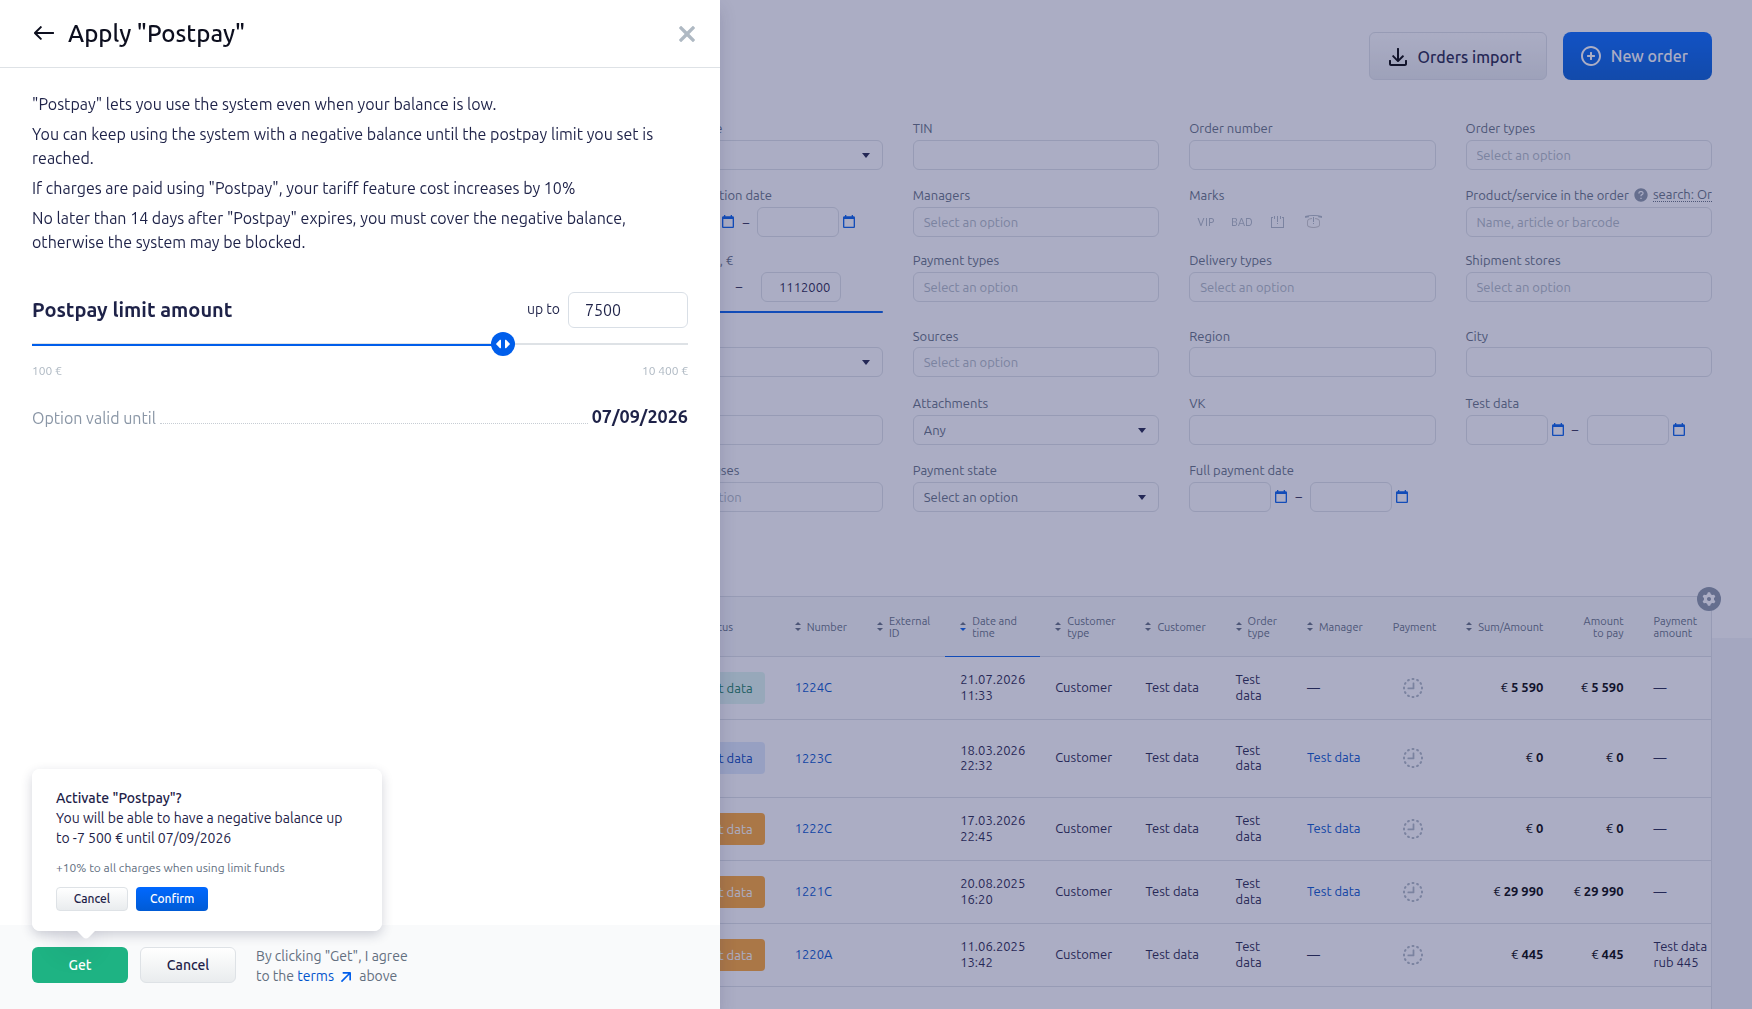
- Click Get.
-
In the Activate post-payment? window, check the limit, end date, and the condition concerning the 10% increase once again, then confirm setup.
After setup is completed, the panel displays the message “You have been granted the Post-payment option.”
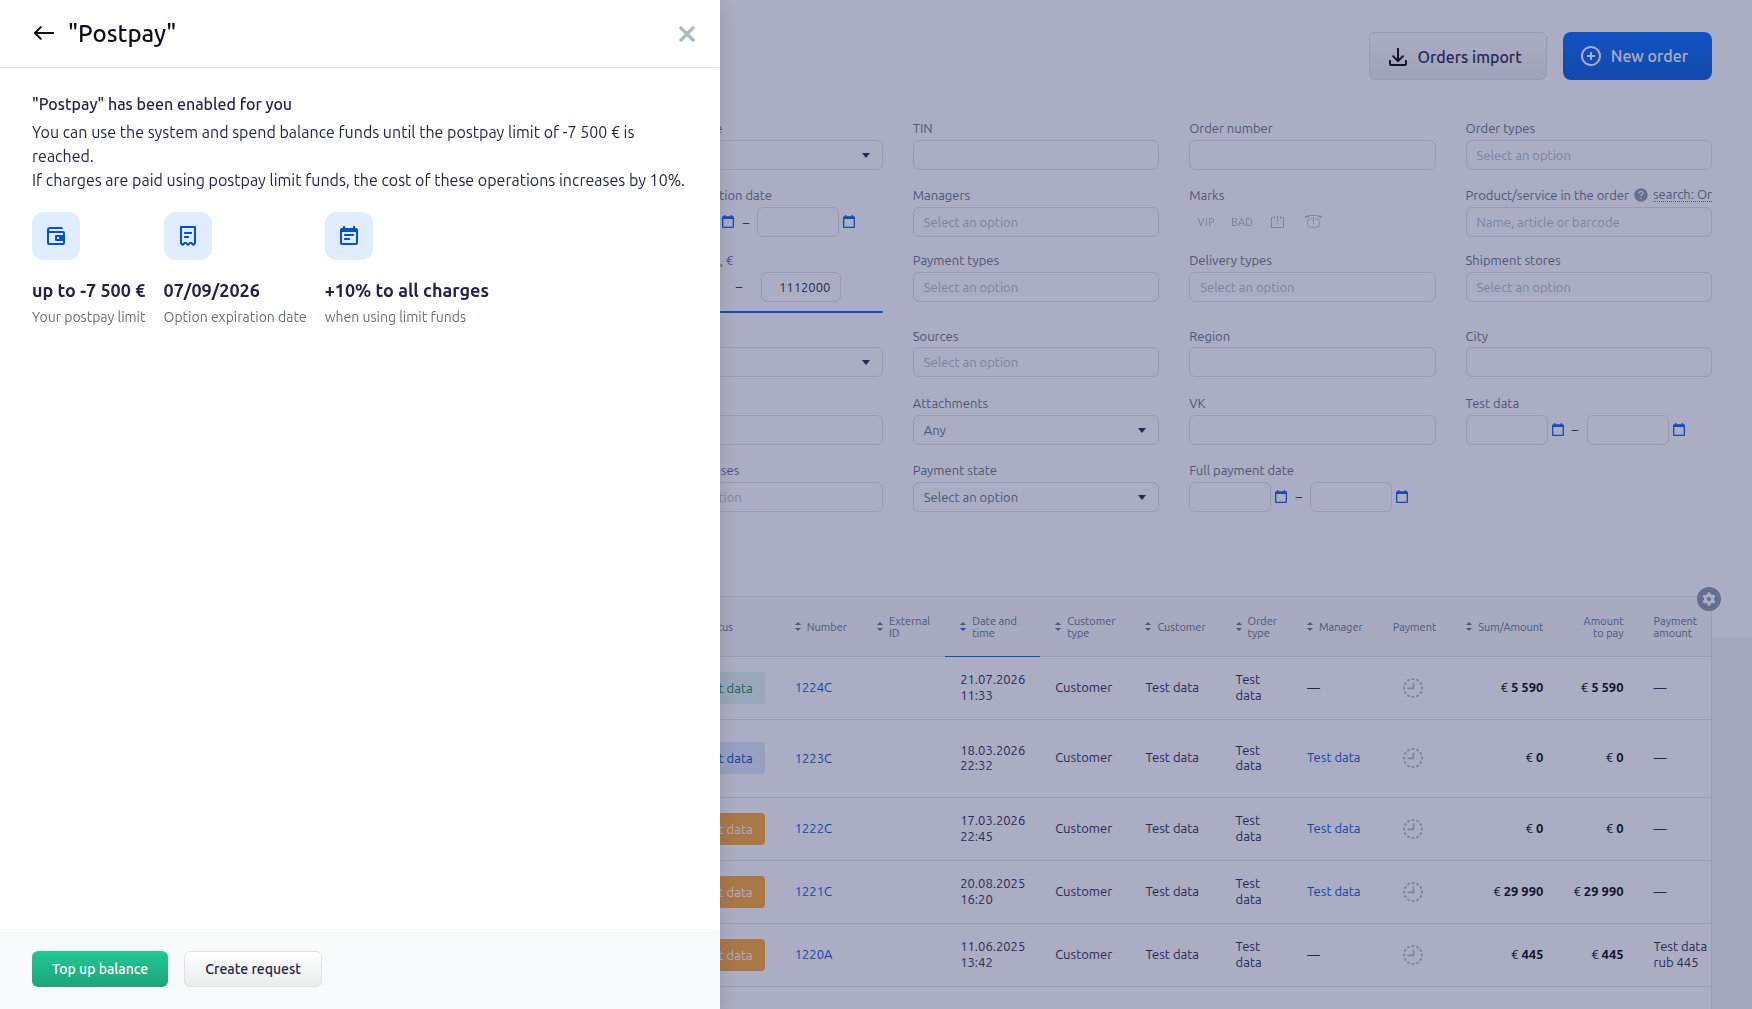
The Balance block displays the selected limit and the Post-payment button. The limit is not added to the current balance. The banner offering the option is no longer displayed.
How the charge increase is calculated
The increase is calculated separately for every charge from the personal account:
- First, the system determines what the balance would be after the original charge without the increase.
- Only the part of the original charge that makes the balance negative or increases an existing negative balance is selected.
- Only the part of the charge within the available post-payment limit is included.
- This part is increased by 10%.
- The resulting increase is added to the original charge.
When the increase applies
The increase applies only if post-payment is active at the time of the operation and the charge uses funds from its limit.
The increase does not apply if:
- post-payment is not active;
- the balance remains greater than or equal to zero after the original charge.
The setup date alone does not determine the calculation. For each operation, the system checks whether post-payment is active at the time of the charge.
Calculation examples
In all examples, the part of the charge covered by the post-payment limit is increased by 10%. All amounts are shown in units of the account currency.
| Balance before operation | Post-payment limit | Original charge | Part covered by the limit | Increase | Total charge |
|---|---|---|---|---|---|
| 1 | 10 | 2 | 1 | 0.10 | 2.10 |
| 20 | 100 | 60 | 40 | 4 | 64 |
| −20 | 100 | 80 | 80 | 8 | 88 |
In the first example, 1 unit is charged from your own funds and 1 unit from the limit. Therefore, the 10% is calculated only on 1 unit.
In the second example, the balance would be −40 units after the original charge. The entire negative part, 40 units, is covered by the limit, so the increase is 4 units.
In the third example, 80 units remain before the limit is reached: from −20 to −100. The original charge uses the entire remaining limit, so 8 units are added to it. The total charge is 88 units and the balance becomes −108 units.
How to view active post-payment terms and top up the balance
Open User profile → Balance and click Post-payment.
The panel displays:
- the selected limit;
- the option end date;
- the increase applied to the part of the charge covered by the limit: 10%.
To top up the personal account in the usual way, click Top up in the Balance block.
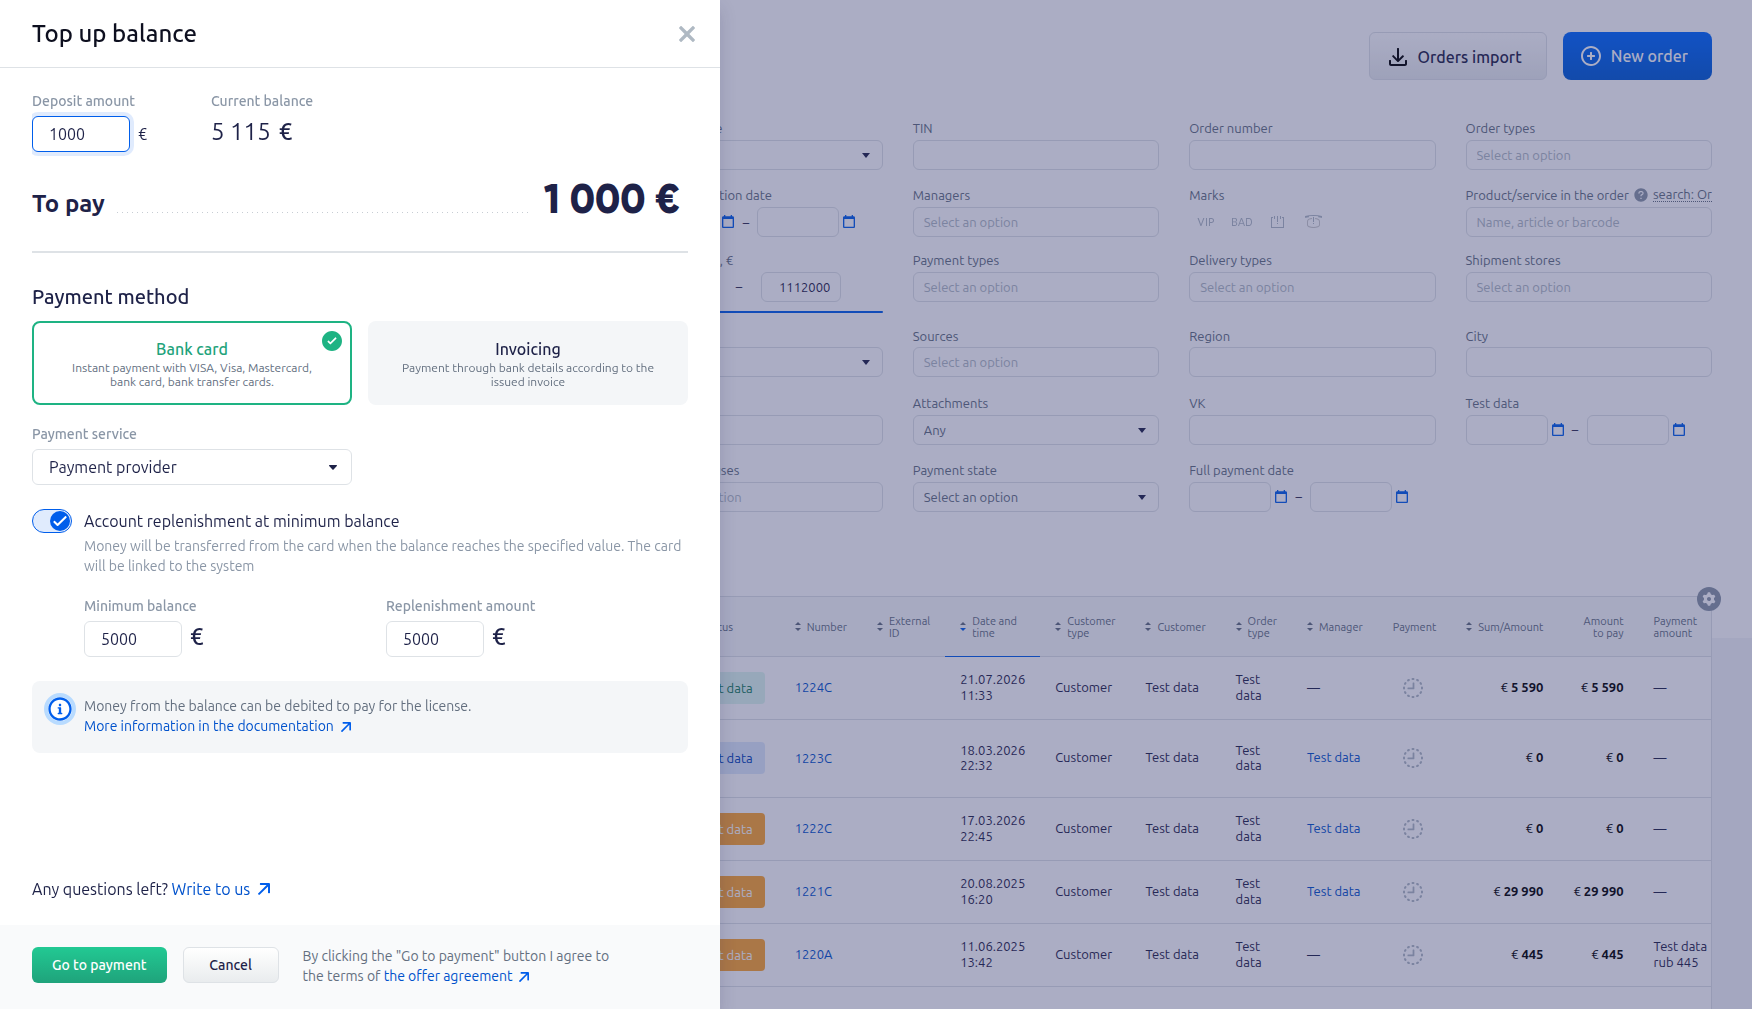
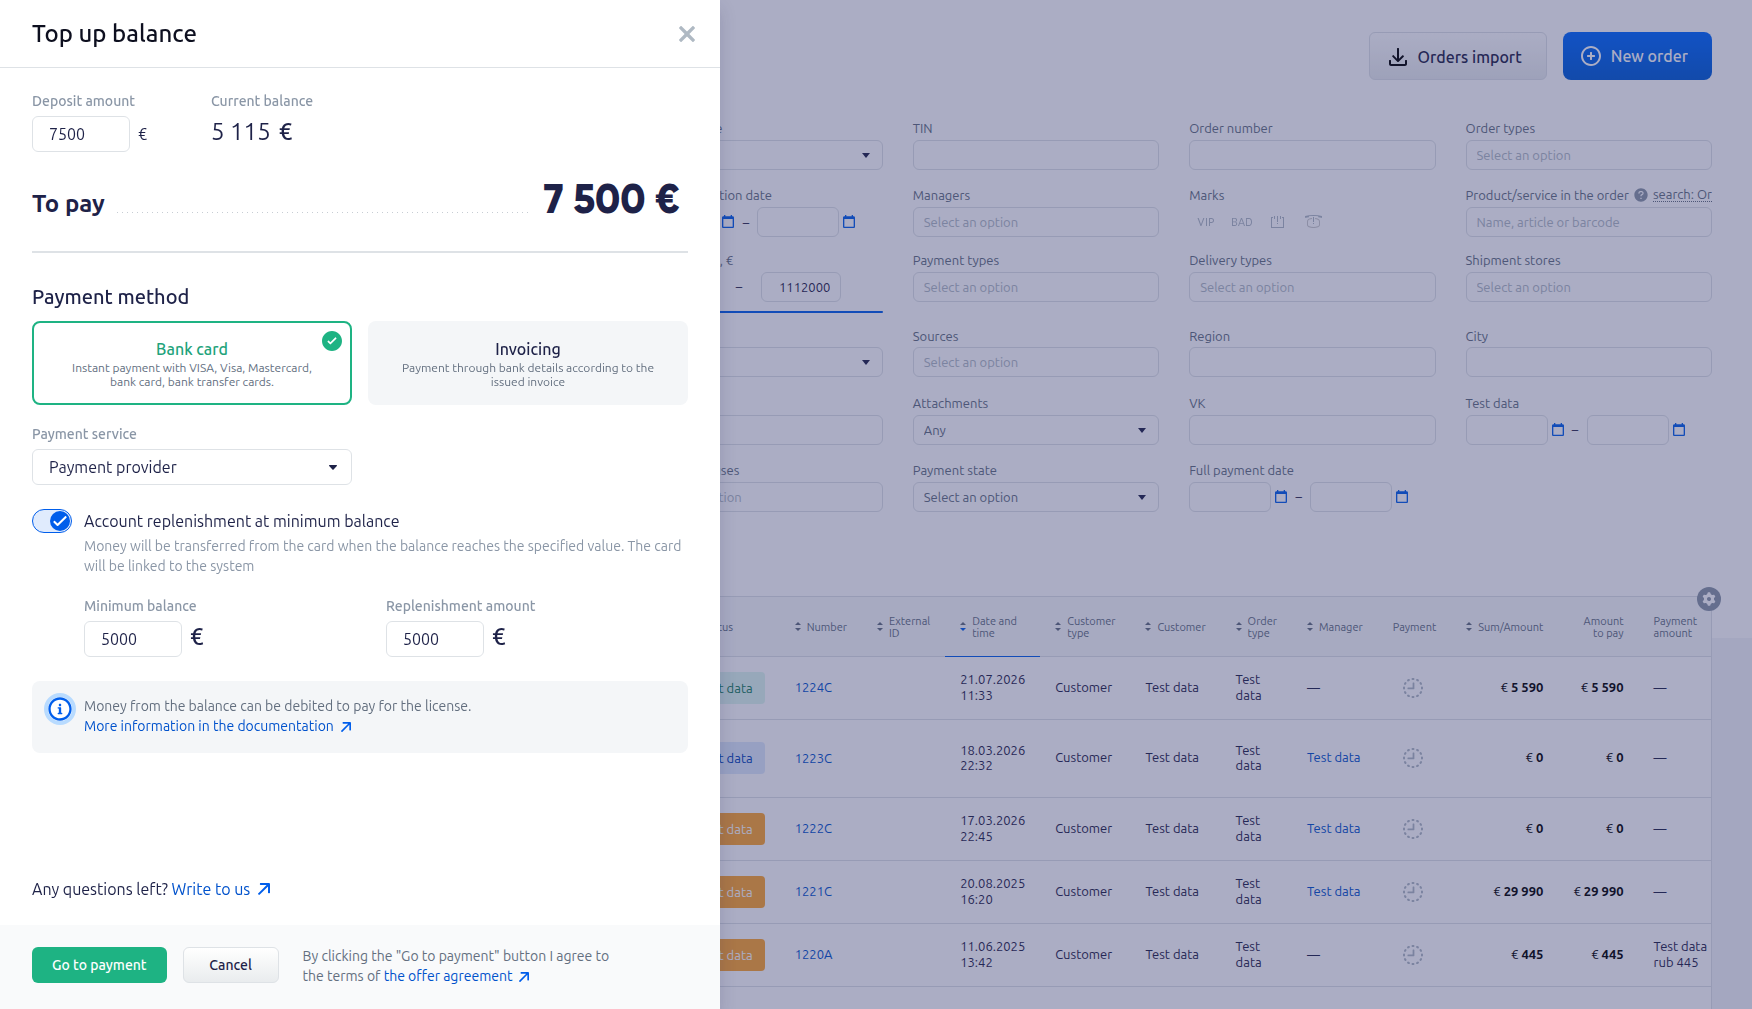
You can also click Top up balance in the active post-payment panel. In this case, the limit amount is entered in the top-up form automatically. You can change the amount before payment if necessary.
If you need to clarify the terms or ask a question about the option, click Create request. The request form opens with the post-payment subject filled in.
How charges appear in payment history
To review operations:
- Open User profile.
- In the Plan block, click the name of the current plan.
- Open the Payment history tab.
The operation row displays the total charge, including the increase. If funds from the limit were used, the operation description explains that the relevant part of the charge was increased by 10% and that post-payment was used.
Each operation also includes the date and time, description, payment type, and amount. New operations appear at the top of the list.
You can filter the history by period and payment type. The start and end dates are included in the selected period. If all types or no types are selected, the “Any” value applies.
The Total expenses for the period indicator includes only charges and is recalculated according to the selected filters. You can export the table in XLS or CSV format.