First, open the "Plugins" section in WordPress and click on the "Add new" button. In the search box, enter "Retailcrm". Find the "Woocommerce RetailCRM" plugin and click the "Install" button.

After installing the plugin, the "Activate" prompt will appear. After the module has been activated, open the Woocommerce settings.
In the Woocommerce settings select the "Integration" tab. If other integrations are installed, select the "RetailCRM" tab. The plugin settings page will open.
Connecting the plugin Woocommerce RetailCRM
First, specify the system address (for example, https://test.retailcrm.pro), previously created API key and select the API version used (v5 is only available in RetailCRM system version 6.0 and higher).
Check the box for the statuses of the products that should be included in the catalogue. After entering the required data, click the "Save" button. Configuration of the correspondence between the online store and system's data books will become available.
Check if the system has the required values of the data books corresponding to the data books of the online store. These can also be added in the ["Data books"]](/en/Users/Administration/Dictionaries) section.
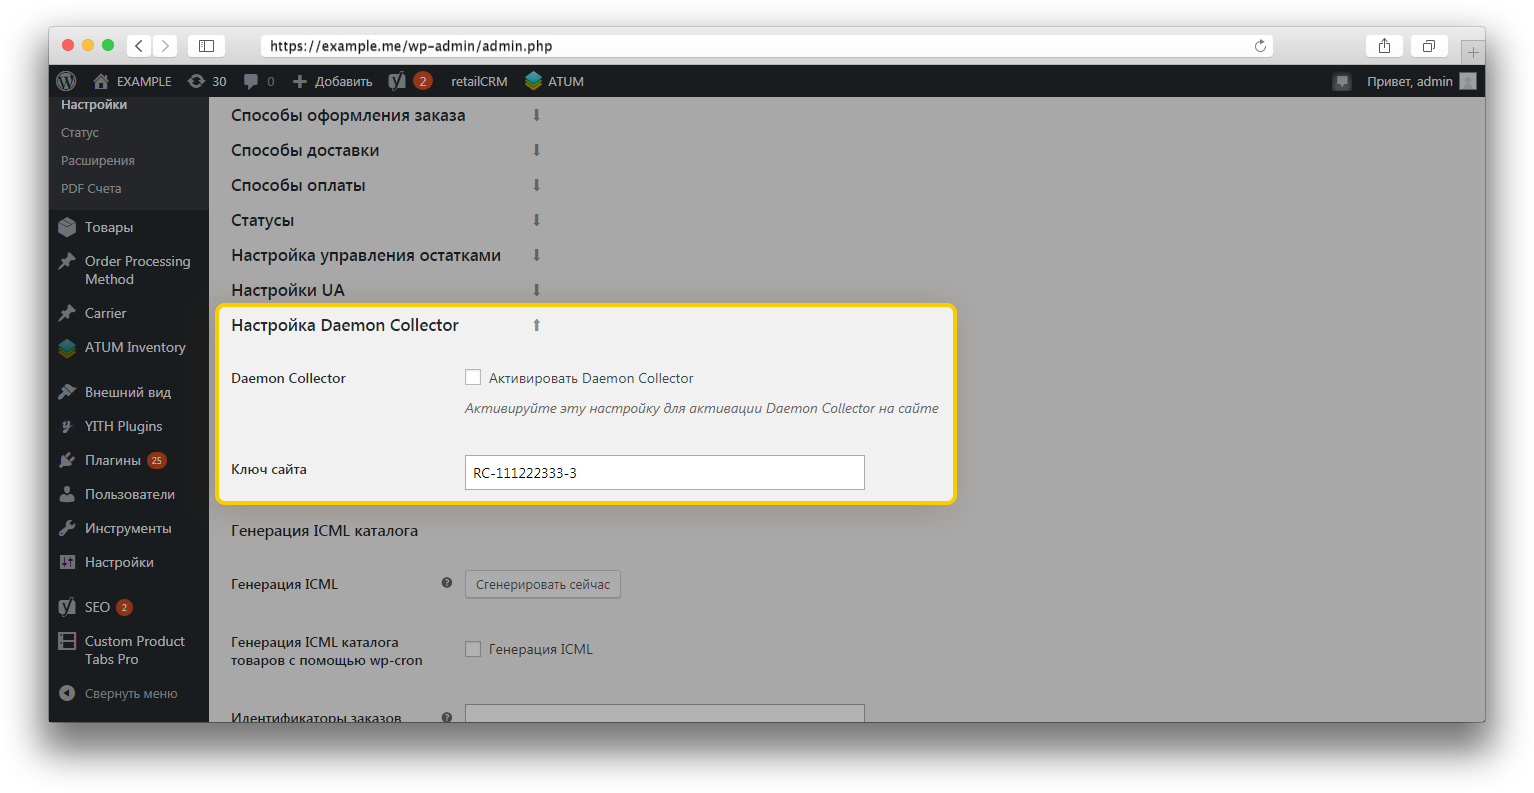
It is also possible to connect Daemon Collector, which will transfer the user's online status on the site. The value from your system is specified in the "Site key" field in the Daemon Collector settings.
After configuring the correspondence of data books and other settings, click the "Save" button again.
Generating a catalogue
The product and service catalogue is generated when the plugin is activated at http://yoursite.com/retailcrm.xml (where yoursite.com is the address of your site).
Note
Downloading services is available from version 4.7.7.
This catalogue address must be inserted into the URL field of the ICML file to synchronise the store catalogue with the system.
The catalogue will be automatically generated by wp-cron every 3 hours. The history is also uploaded by wp-cron every 5 minutes.
Note
When the loyalty program is enabled, the catalog generation is different. More details here.
To transfer services via an ICML file, you need to activate the corresponding option in the module settings in the Integration section. When the option is enabled, all products marked as "Virtual" will be considered as services and uploaded to the system.

If the store already has customers and orders, then they can be uploaded to the system. To do this, click the "Upload" button.
Important!
We do not recommend using this functionality if there is a large number of orders in the store (more than 700-800 orders).
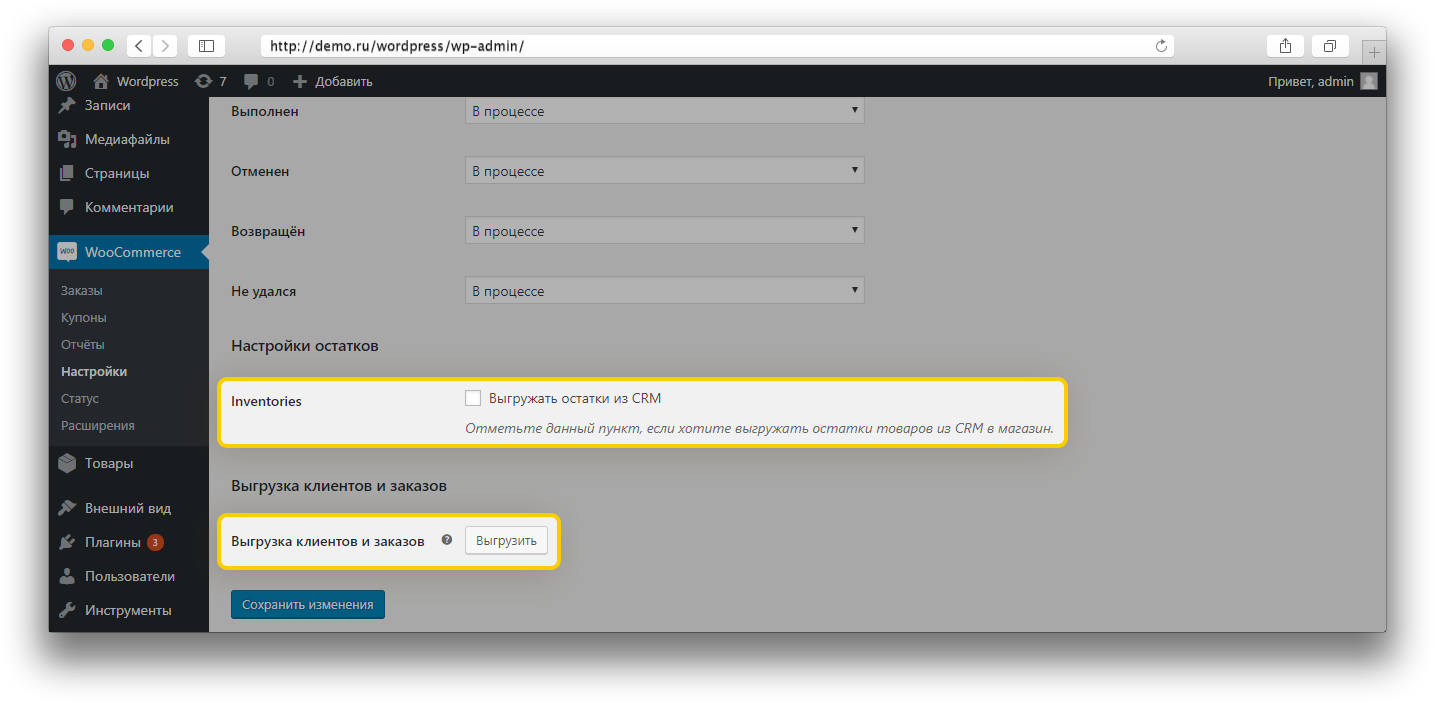
Also, if you would like to synchronise stock balances of the system with the store, enable the “Synchronisation of the stock balance” option. If this option is enabled, the store will update information on the stock balances from the system every 15 minutes.
Note
if stock balance synchronisation is enabled, the module will automatically enable the stock management as applied to each product offer in the store. This means that, if the product is not in stock, it cannot be selected on the site. Do not enable this synchronisation if you are not sure about your stock balances in the system.